Texture photography
Seeing the textures in things, and photograph them |
… So, I stumbled on the photographic genre of “Texture Photography”. And it just sent me into remembering all my own pictures, where lots of them could be put in this photographic genre. It have been a subject that I have always been making. Some objects are just so very natural suited for this kind of, sometimes artistic, corner of the photography world, and they just wait there screaming “Take Me!”.
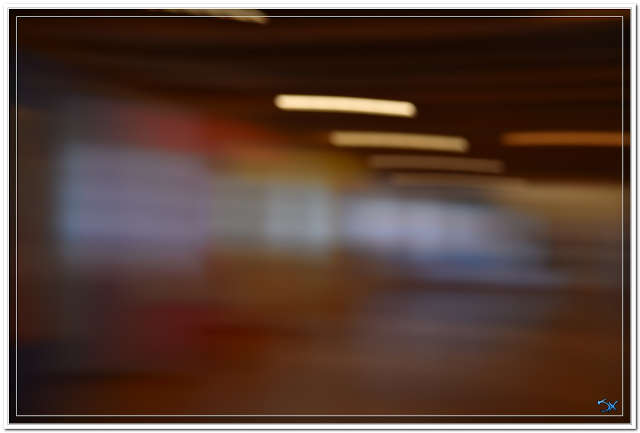
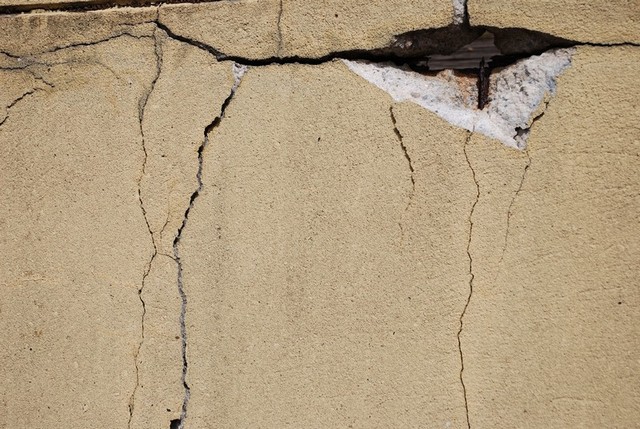
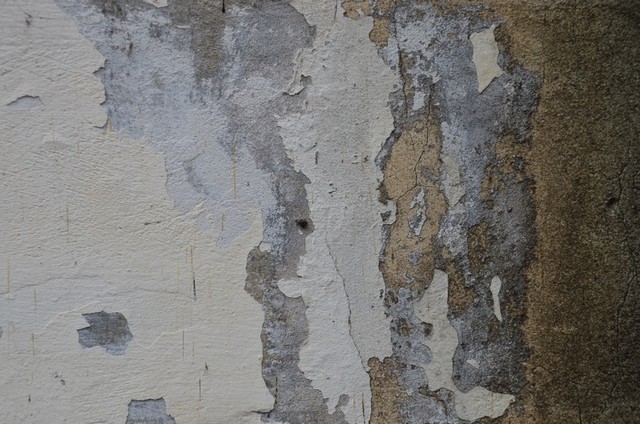
You can find textures all around. Walls, the ground you walk on, and even the clouds. Texture pictures can be either sharp, or chosen to be very blurred to make the thing being photographed so blurred that it is unrecognizable. This can be used for f.ex, a background for other pictures. Like a blurred piece of your garden, then put behind a good photo of a nice rose, making the background do what it is supposed to do, being the background.
A tripod is always a good idea, not always demanded through, sometimes unhandy . And use also a remote trigger to avoid camera shake, when pushing the shutter.
I will say, that if you have a tripod, and you can carry it, then do bring it with you.
A macro lens will bring you close up to the item you have in mind. You dont need a macrolens however. If you want to do macro, but dont have a dedicated lens, then you can try with a bellow or a set of extension tubes. Be sure to get a set where the contacts on the camera will be connected via the extension tubes to the lens itself. This will make the autofocus and aperture still working. If you buy the cheaper kind of extension tubes without these kind of contacts you dont have these available, and you are left in the dark, so to say. You will have to be able to set the values in manual this way, and not all lenses will let you do the aperture manually. So my suggestion is that you get the extension tubes with these kind of contacts. Also the same goes for the bellows. If I was to say which I would prefer of the two- the bellow or the extension tubes. I would say, and not all may agree; buy the extension tubes. They are cheaper. And they will be sufficient, in most cases, a good choice to start up with. The bellow gives you possibility for a longer distance between the censor and the object. And therefor you can get much closer. The bellow is more expensive, generally. But its also not as easy as the tubes, in the way of moving the camera around. The tubes can be stacked in any combinations of the three rings. In numbers will give you f.ex. A 10mm to 90mm effective extra distance from the sensor to the object. Where the rings could be 10, 30, & 50mm The bellow will bring the distance longer than that distance and thereby bringing you closer. Also it will be moved without going in steps. For using a bellow you really do have to have and use that tripod, a sturdy one.
Further I will say that if you make your photos at home, macro, and will need the smallest movements of the camera, then consider a Sliderrail. If you can not move the object, or moving your tripod/camera, then this may be a tool you can use. I have one, and you can find them on Amazon, being not so expensive. A light movement of the sliderrail, can mean a big difference.
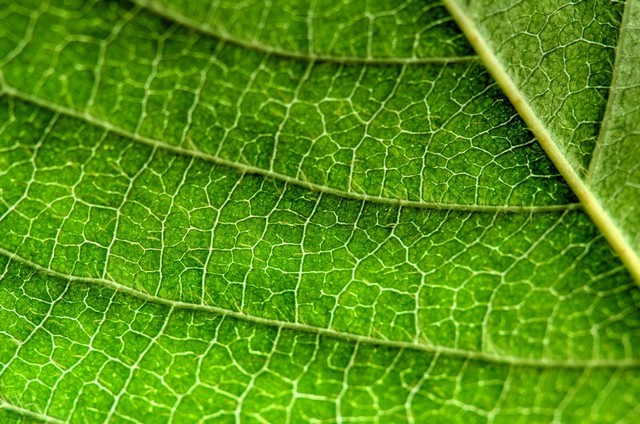
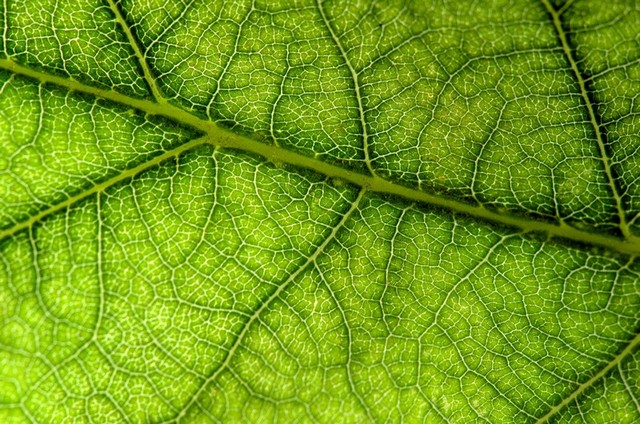
But, textures are not just macro. Some images are best taken if you use a “normal” lens. The 50mm primary lens. This is generally a lens you can get for a reasonable price, as it consists of a few, and small, glass lenses. Instead of the 50mm you are in for the game if you have a zoom spanning the 50mm. Like f.ex the Nikon 24-85mm a full frame zoom lens, that I use as my “allrounder”. Good for many situations. Being slightly wide lens till the wide tele lens. Another is the welknown 18-55mm a Kit lens from Nikon.
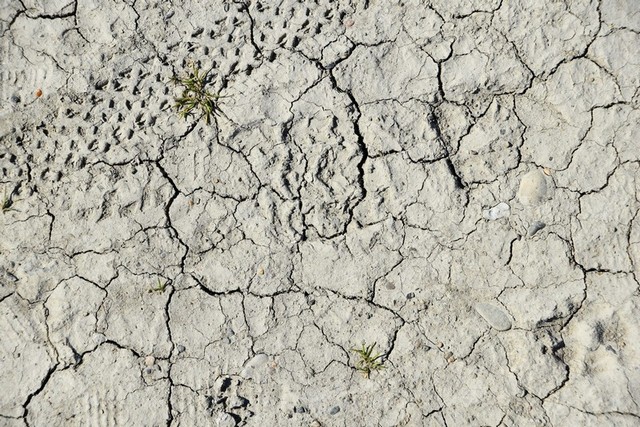
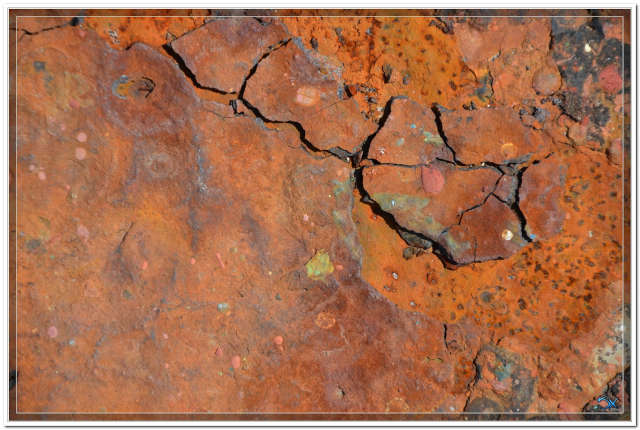
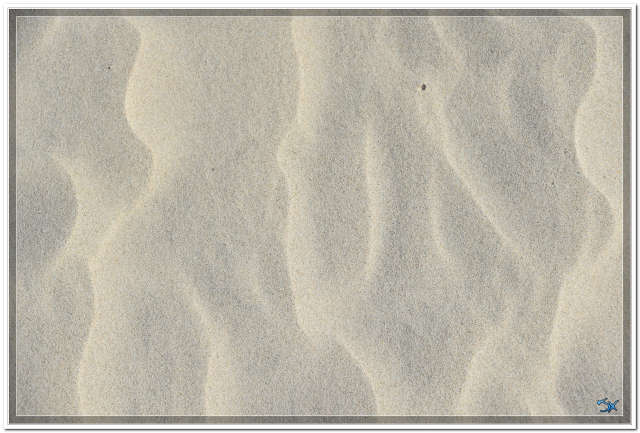
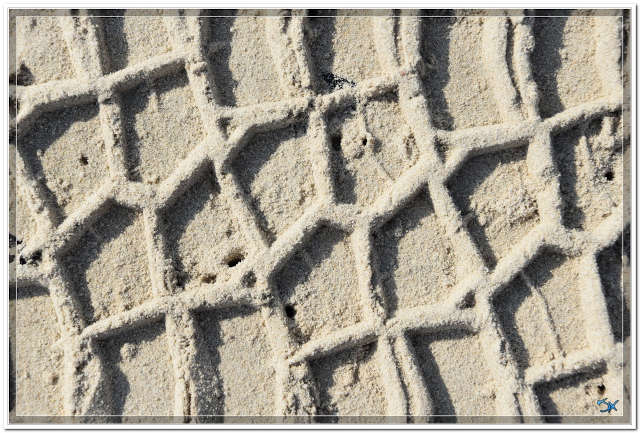
Here you see two photos that was taken with a more “Normal” focal length. But all depends on the object. Any focal length can be the right one. Also a tele lens not to forget. So I will not say that this and that is “the best”, or the “real” way or doing it. Or how it is supposed to be done. You will recognize the texture when you see it, and then you will know how to frame it.
Another thing that sometimes makes a good texture photo even better, or sometimes required for a less good photo, making it good, is to convert it into gray scale. You may be able to set your camera to save the image files directly into gray scale. Personally I prefer to do it manually though. I mean in a desktop software.
About lighting the object you want to photograph. Some say that you will be good if you have clear sun, making the shadows more hard and that this is an advance.
While that is said, some say the opposite.
My opinion is that it depends on the object you are photographing. Like if its a surface, with some structure in/on it, then a low sun can be, (not said will be), an advantage. The small grooves and bumps will stand out clearer. And that could be what you are after. On the other hand an overcast day can give you nice looking pictures without the hardness of the light/shadows.
Flashes, or specially an inbuilt flash is strictly forbidden. What ever makes the companies even have an idea that their customers want those. I dont understand.